
Microscopes for Geology: Choose the Right Microscope
Microscopes reveal details of rocks, minerals, crystals, fossils, and sediment grains that cannot be examined clearly with the unaided eye. For geology students, mineral collectors, and earth science laboratories, the right microscope can make it easier to observe crystal shapes, grain boundaries, mineral textures, and other features that help explain how geological materials formed.
However, not every microscope is designed for the same task. A stereo microscope is useful for examining the surfaces of rock specimens and larger mineral grains, while a petrographic microscope is designed for studying thin sections of rocks using polarized light. Digital microscopes offer another option for capturing images and sharing observations.
This guide compares the main types of microscopes for geology and explains what to consider when choosing equipment for mineral identification, rock analysis, fossil examination, and laboratory work.
Best Microscopes for Geology and Mineralogy
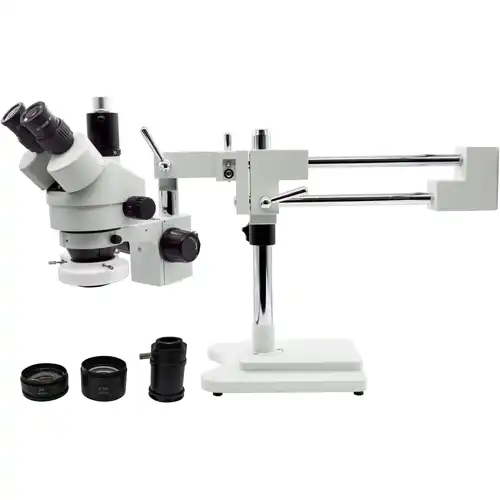
Professional Trinocular Stereo Zoom Microscope, 3.5X-90X Magnification
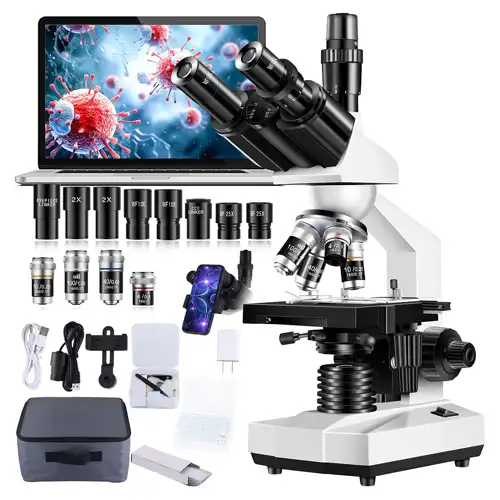
Trinocular Microscope 40X-5000X Magnification Laboratory Grade
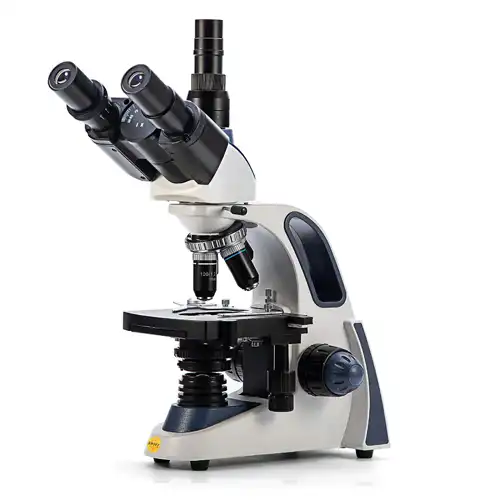
Swift SW380T 40X-2500X Magnification Research-Grade Trinocular Microscope
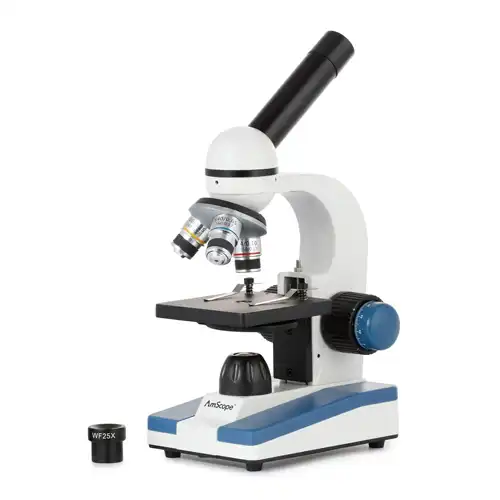
AmScope M150C1000X All-Metal Optical Glass Lenses Cordless LED
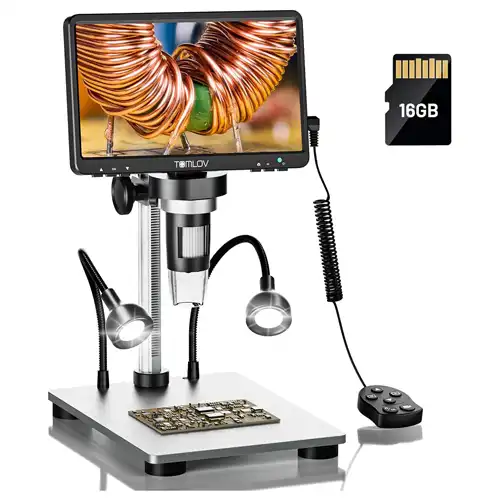
TOMLOV DM9 7 Digital Coin Microscope 1200X
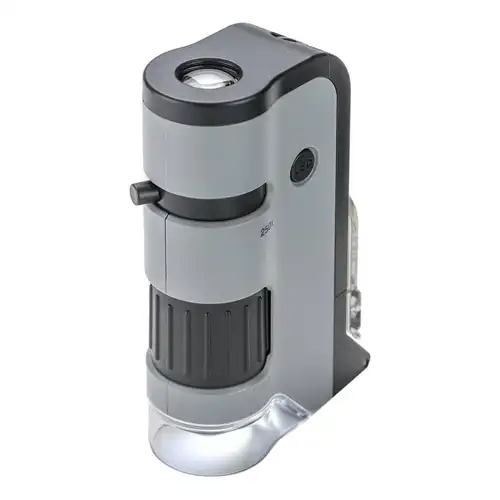
Carson MicroFlip 100x-250x, Pocket Microscope with Smartphone Clip
Affiliate disclosure: As an Amazon Associate, Gelogia earns from qualifying purchases. We may earn a commission when you buy through our links, at no extra cost to you.
Types of Microscopes Used in Geology
Stereo Microscopes for Rocks and Minerals
A stereo microscope, also called a stereomicroscope, provides a three-dimensional view of a specimen's surface. It is especially useful when examining larger objects that cannot fit beneath a standard compound microscope's objective.
Geologists use stereo microscopes to inspect mineral crystals, rock textures, small fossils, sediment grains, and mineral separates. Top illumination helps reveal surface texture, crystal faces, and other external features.
When selecting a stereo microscope, consider adjustable magnification, working distance, lighting options, focusing controls, and the size of the stage. A longer working distance can be particularly useful when examining irregular rock fragments or larger specimens.
Compound Microscopes for Geological Samples
A compound microscope uses multiple optical elements to provide higher magnification than a typical stereo microscope. Many models use transmitted light, which passes through a sufficiently thin or transparent sample.
Compound microscopes can be useful for examining prepared mineral samples, microscopic fossils, and other geological materials suitable for this viewing method.
For geology, check whether the microscope accepts standard slides, offers appropriate objective lenses, and provides suitable illumination. A conventional biological microscope may work for some observations, but it does not automatically provide the specialized optics needed for petrographic analysis.
Petrographic Microscopes for Thin Sections
A petrographic microscope is designed for examining rocks and minerals in thin sections. These sections are commonly prepared to a controlled thickness so that light can pass through many rock-forming minerals.
Petrographic microscopes typically include a polarizer and analyzer, along with other features designed for mineral optical analysis. By observing samples under plane-polarized and cross-polarized light, geologists can investigate optical properties, mineral relationships, and textures that help with rock identification and interpretation.
If your goal is to study igneous, sedimentary, or metamorphic rocks through thin sections, a petrographic microscope is usually more appropriate than a basic student microscope. Check whether the instrument includes the required polarizing components and a rotating stage.
Digital Microscopes for Imaging and Documentation
Digital microscopes use a camera or built-in imaging system to display magnified specimens on a computer or screen. Depending on the design, they can be convenient for classroom demonstrations, specimen documentation, and sharing observations with other researchers.
Some models are designed mainly for surface inspection, while others can be attached to optical microscopes. Digital zoom and advertised magnification do not necessarily indicate the amount of fine detail that can be resolved.
Compare sensor resolution, optical quality, lighting, software compatibility, image export options, and the ability to calibrate images when measurements are required.
Student Microscopes for Geology Courses
Students often benefit from a microscope that is straightforward to operate, stable, and suitable for the specimens used in their courses.
A stereo microscope may be a good starting point for examining hand specimens, mineral grains, and small fossils. A compound microscope is more suitable for prepared slides, while a petrographic microscope is needed for formal mineral-optical work using thin sections and polarized light.
Choose equipment based on the actual course requirements rather than buying the microscope with the highest advertised magnification.
How to Choose a Microscope for Geology
Magnification and Optical Resolution
Magnification makes a specimen appear larger, but it does not guarantee that additional details will become visible. Optical resolution determines how clearly the microscope can distinguish small, closely spaced features.
Choose a useful magnification range for the task. Stereo microscopes are generally suited to surface details and larger grains, whereas compound and petrographic microscopes are used for finer features in suitable prepared samples.
Avoid choosing a microscope solely because a listing advertises extremely high digital magnification. Optical performance, illumination, and specimen preparation all influence the detail you can observe.
Illumination: Reflected and Transmitted Light
Reflected light illuminates a specimen from above and is useful for opaque rocks, mineral crystals, and textured surfaces. Transmitted light passes through a specimen and is used for thin or transparent materials.
Some stereo microscopes provide both top and bottom illumination. Petrographic microscopes use transmitted light and specialized polarization components to reveal optical properties in thin sections.
Choose the illumination system that matches your sample. A microscope designed only for opaque specimens may not be suitable for studying mineral optical properties in thin sections.
Working Distance and Stage Size
Working distance is the space between the objective and the specimen when the image is in focus. A generous working distance is useful for irregular rocks, larger crystals, and samples that require room for manipulation.
Check the stage dimensions and focusing range as well. A small stage may be adequate for prepared slides but inconvenient for larger mineral specimens.
Polarization Features
If you intend to study rock thin sections, confirm that the microscope supports the required polarizing methods. A suitable petrographic microscope typically has polarizing components and a rotating stage.
A standard microscope cannot necessarily reproduce all the observations possible with a properly equipped petrographic instrument. Verify that the required accessories are included rather than assuming they come with the microscope.
Camera Compatibility and Image Quality
A camera can help you document mineral textures, create teaching materials, and compare specimens over time. Check whether the microscope includes a camera, supports an optional camera adapter, or works with your preferred imaging software.
For quantitative image analysis, make sure the software supports calibration and that the imaging setup can be calibrated using an appropriate scale. Camera resolution alone does not establish measurement accuracy.
Build Quality, Lighting, and Ease of Use
Look for stable construction, smooth focusing controls, comfortable viewing, accessible replacement parts, and illumination that can be adjusted to suit the specimen.
For a microscope used frequently in teaching or research, service availability and compatibility with accessories may be more important than a small difference in advertised magnification.
Which Microscope Is Best for Different Geological Tasks?
| Geological task | Suitable microscope type | Main advantage |
|---|---|---|
| Examining rock surfaces | Stereo microscope | Three-dimensional surface view |
| Inspecting mineral crystals | Stereo microscope | Clear view of external crystal features |
| Sorting and examining sediment grains | Stereo microscope | Convenient observation of individual grains |
| Studying rock thin sections | Petrographic microscope | Polarized-light mineral analysis |
| Examining suitable prepared slides | Compound microscope | Higher magnification with transmitted light |
| Photographing specimens | Digital microscope or microscope-camera setup | Image capture and documentation |
| Teaching basic microscopy | Student microscope suited to the course | Accessible operation for routine observations |
| Recording mineral textures for research | Appropriate optical microscope with camera | Documented images for analysis and comparison |
No single microscope is ideal for every geological task. A university petrography laboratory may require several microscope types because surface inspection, thin-section analysis, and digital documentation involve different needs.
How to Use a Microscope for Geological Samples
- Identify the sample and objective. Decide whether you need to examine a surface, a mineral grain, a prepared slide, or a thin section.
- Prepare the specimen. Use a suitable mount, slide, or stage arrangement. Avoid forcing oversized or unstable samples beneath the objective.
- Choose appropriate illumination. Use reflected light for many opaque specimens and transmitted light for suitable thin samples.
- Begin at low magnification. Locate the area of interest before moving to higher magnification.
- Adjust focus and lighting. Use the microscope's focusing controls and illumination settings to obtain a clear image.
- Use specialized features when needed. For petrographic analysis, follow the appropriate procedure for plane-polarized and cross-polarized observations.
- Record your observations. Note the sample identifier, magnification, illumination method, and relevant features. Capture images when useful.
- Clean and store the equipment. Follow the manufacturer's instructions for cleaning lenses, removing samples, and protecting the microscope.
- Never touch optical surfaces with ordinary cloth or abrasive materials. Use suitable lens-cleaning supplies and follow the instrument manufacturer's maintenance guidance.
Microscope vs. Hand Lens for Mineral Identification
A hand lens is inexpensive, portable, and useful for examining rocks and minerals in the field. It can reveal grain size, visible crystal shapes, cleavage, and surface textures without requiring laboratory equipment.
A microscope provides greater control over illumination and magnification and can reveal smaller features. A stereo microscope is particularly useful for detailed surface inspection, while a petrographic microscope supports the optical analysis of thin sections.
For field geology, a hand lens is often the more practical everyday tool. For detailed laboratory examination, a microscope can provide substantially more information. These tools complement rather than replace one another.